

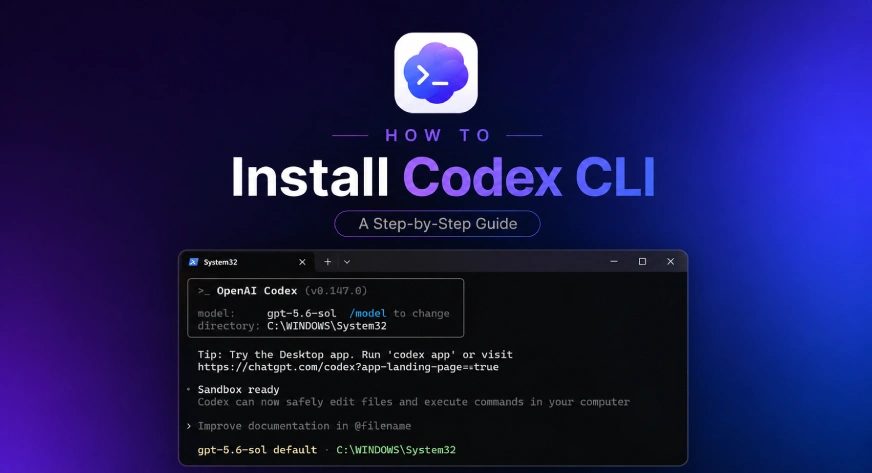

If you have already used Codex in ChatGPT, the Codex CLI will feel familiar. It brings the same AI assistance directly into your local development environment, where it can work with your repository, shell, tests, and other tools.
Installation takes only one command, but the setup choices that follow are worth reviewing carefully. In this article, you’ll learn how to install Codex CLI on Windows, macOS, and Linux and complete a clean first-time setup.
Before You Install
Use the standalone installer if you do not already manage developer tools through Homebrew or npm.
- Windows:
PowerShellon a supported Windows system. WSL2 is optional. - macOS or Linux: A terminal with
curlavailable. - Account: A ChatGPT account or an OpenAI Platform API key.
- Workspace: A project folder you own and trust.
Installation
1. Run the installer
Open a terminal. Next, run the command for your operating system.
macOS and Linux
curl -fsSL https://chatgpt.com/codex/install.sh | shWindows PowerShell
powershell -ExecutionPolicy ByPass -c "irm https://chatgpt.com/codex/install.ps1 | iex"You can also run this via CMD. It executes the PowerShell command.

The Windows installer adds Codex to your PATH; consequently, it is ready for use. It also offers to launch the application.
Note: If the installer asks to start Codex immediately, press N. Do this unless the terminal is already inside a project folder.
Alternative install methods
Do you prefer a package manager? Use one of these options instead:
# Homebrew
brew install --cask codex

# npm
npm install -g @openai/codex
Similarly, Homebrew is suitable for a Brew-managed Mac setup. Use npm if Node.js already manages your global developer tools.
First Run
2. Open a project folder
Move into the repository where you want Codex to work. Then, launch it.
# Windows PowerShell
cd C:\Users\you\code\my-project
codex

# macOS or Linux
cd ~/code/my-project
codex
Codex treats the current directory as its starting workspace. By default the System32 directory would be the default one.
3. Choose how to sign in
The first launch offers three sign-in routes:
- Sign in with ChatGPT: Uses the Codex allowance from your ChatGPT plan.
- Sign in with Device Code: Best for SSH, containers, or machines without a browser callback.
- Provide your own API key: Usage is billed through the OpenAI Platform account linked to that key.
OpenAI’s current Codex pricing page lists Free, Go, Plus, Pro, Business, Edu, and Enterprise plans. API-key usage is billed separately. On the other hand, usage in a subscription is shared between the web app and Codex.
4. Authorize Codex in the browser
If you choose ChatGPT, Codex prints an authentication URL. It also opens this URL in your browser. If the browser does not open, copy and paste the URL yourself.
Next, sign in to the browser using the ChatGPT account you want Codex to use.
Check the account on the confirmation screen before you continue.
As a result, when the browser shows the success page, close the tab. Then, return to the terminal.
5. Review the first-run notice
Back in the terminal, Codex confirms your account. It also reminds you that autonomy is a choice. Do not ignore this notice. Press Enter after you read it.
You can inspect or change the active boundary later. Use the /permissions command to do this.
6. Trust the right folder
Codex now prints the directory it is about to trust. Read the path carefully. Do not just look at the highlighted option.
Trust allows project-local configuration, hooks, and execution policies to load. If the path is wrong, quit the program. Move into the correct repository and run codex again.
7. Configure the Windows sandbox
On native Windows, Codex may ask how to create its sandbox. Choose the default sandbox if you can approve the administrator prompt.
OpenAI’s Windows sandbox documentation calls the elevated mode the preferred native setup. It uses lower-privilege sandbox users. It also uses filesystem boundaries, firewall rules, and local policy changes. The non-admin mode exists for machines where elevation is unavailable. However, it offers weaker protection.
8. Send a safe first prompt
Once the prompt appears, start with a read-only task. This confirms that Codex can see the repository. It does not ask the tool to modify anything.
Explain this repository's structure. Do not change any files. Then list the three commands I should run to verify it locally.Useful Commands After Setup
- /status: show the model, directory, account, and active settings.
- /permissions: inspect or change what Codex can read, edit, or run.
- /model: choose the model and reasoning effort available to your account.
- /init: create an
AGENTS.mdfile for repository-specific instructions. - /review: review changes before you commit them.
- /exit: leave the CLI cleanly.
Keep the default workspace boundary unless the task needs more access. The permissions documentation explains the read-only, workspace, and full-access profiles.
Updating Codex CLI
For a standalone installation, rerun the platform installer. OpenAI uses the same command for installation and updates.
# macOS or Linux
curl -fsSL https://chatgpt.com/codex/install.sh | sh

# Windows PowerShell
powershell -ExecutionPolicy ByPass -c "irm https://chatgpt.com/codex/install.ps1 | iex"
Update package-manager installs through the same manager:
# Homebrew
brew upgrade --cask codex

# npm
npm install -g @openai/codex@latest
Finish with codex --version to confirm the installed build.
Conclusion
Installing Codex CLI comes down to three moves:
- An install command
- Single account approval
- A workspace and sandbox decision
The only genuinely bad setup is the convenient one in the wrong directory. Launch from the repository, keep the sandbox boundary, check /permissions, and begin with a read-only instruction.
Once that is clean, run /init and let the project carry its own rules.
Read more: Top 10 Skills for Claude Code and Codex CLI
A. The CLI is free to install. Codex is included with ChatGPT Free, Go, Plus, Pro, Business, Edu, and Enterprise plans, with different limits. API-key usage is billed separately.
A. No. The standalone installer does not require Node.js. You need it only if you choose the npm installation method.
A. No. Codex runs natively on Windows with a Windows sandbox. WSL2 remains useful when your repository and toolchain already live in Linux.
A. Yes. Choose ‘Provide your own API key’ during setup. That usage follows OpenAI Platform billing, not your ChatGPT plan allowance.
A. Run codex login status to inspect it. Run codex logout to clear the cached credentials.

Studying, evaluating, and explaining AI systems for over 6 years.
“𝘖𝘯𝘤𝘦 𝘮𝘦𝘯 𝘵𝘶𝘳𝘯𝘦𝘥 𝘵𝘩𝘦𝘪𝘳 𝘵𝘩𝘪𝘯𝘬𝘪𝘯𝘨 𝘰𝘷𝘦𝘳 𝘵𝘰 𝘮𝘢𝘤𝘩𝘪𝘯𝘦𝘴 𝘪𝘯 𝘵𝘩𝘦 𝘩𝘰𝘱𝘦 𝘵𝘩𝘢𝘵 𝘵𝘩𝘪𝘴 𝘸𝘰𝘶𝘭𝘥 𝘴𝘦𝘵 𝘵𝘩𝘦𝘮 𝘧𝘳𝘦𝘦. 𝘉𝘶𝘵 𝘵𝘩𝘢𝘵 𝘰𝘯𝘭𝘺 𝘱𝘦𝘳𝘮𝘪𝘵𝘵𝘦𝘥 𝘰𝘵𝘩𝘦𝘳 𝘮𝘦𝘯 𝘸𝘪𝘵𝘩 𝘮𝘢𝘤𝘩𝘪𝘯𝘦𝘴 𝘵𝘰 𝘦𝘯𝘴𝘭𝘢𝘷𝘦 𝘵𝘩𝘦𝘮.” — 𝖥𝗋𝖺𝗇𝗄 𝖧𝖾𝗋𝖻𝖾𝗋𝗍, 𝖣𝗎𝗇𝖾
Login to continue reading and enjoy expert-curated content.
